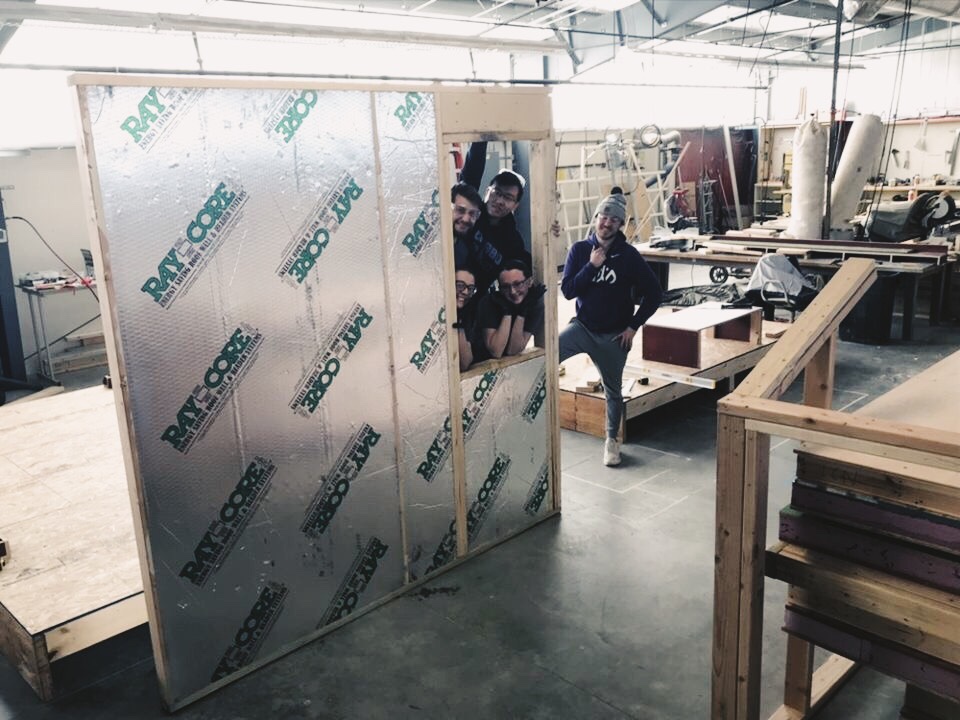


The 28th of February saw the first of our material shipments arrive (the largest part of our lumber order), marking our studio’s shift from the classroom to the workshop. While we didn’t have all the materials needed to start panel fabrication, we had some prep work that needed to take place before fabrication. Materials needed to be organized, framing platforms needed to be built, the fabrication set needed to be finished, and the different task spaces needed to be established. Finally, the 2nd of March brought us our RAYCORE shipment. With our materials in hand, construction could begin!
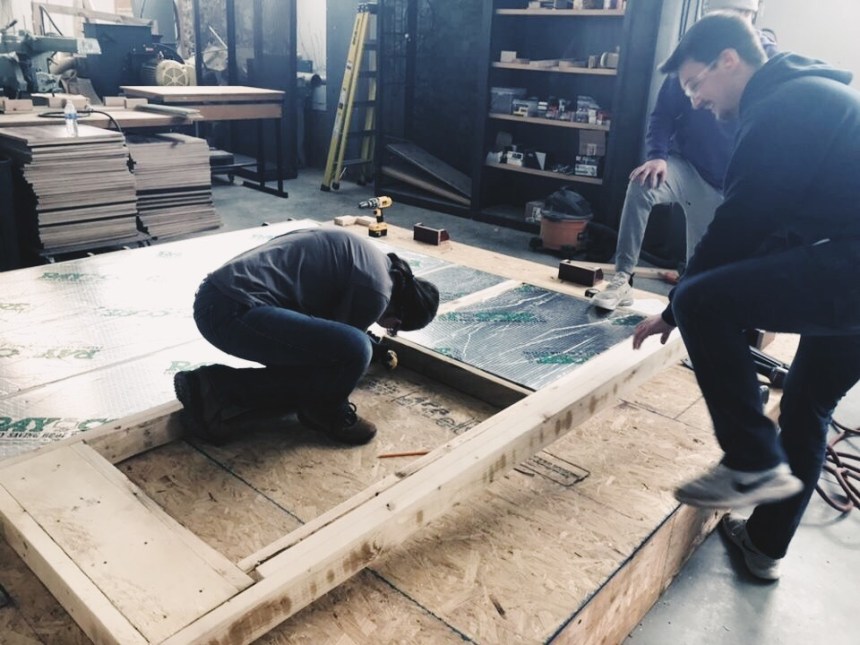
There are 2 main stages of construction in panel fabrication: the framing of the panel (the assembly of studs and RAYCORE) and the sheathing of the panel (the application of OSB sheets, rigid insulation, and ZIP board). We decided that the best way for the studio to construct the panels was to complete the framing on all the panels first and then install the sheathing. Each individual panel has its own fabrication document that includes instructions on exactly how it needs to be framed, sealed, nailed, fastened to the framing elements, and how installed on the sheathing elements.
We started actual construction on the panels on March 3rd and by March 6th, the last day of classes before spring break, we had completely framed 12 of the 20 exterior wall panels (these 12 panels make up the north and south walls). We were averaging 3 panels a day. At this rate, we can easily finish framing exterior wall panels in just a few days, after returning from spring break, so we can move on to sheathing installation.

Leave a comment